Add Gateways to the Process (5/6)
In this section, you’ll learn how to make your process more dynamic by using BPMN 2.0 Exclusive Gateways.
Add Two Gateways
We want to modify our process so that it’s more dynamic.
To do so, open the process in the Camunda Modeler.
Next, from the Modeler’s left-hand menu, select the gateway shape (diamond) and drag it into position between the Start Event and the Service Task. Use the create space tool again as needed. Move the User Task down and add another Gateway after it. Lastly, adjust the Sequence Flows so that the model looks like this:
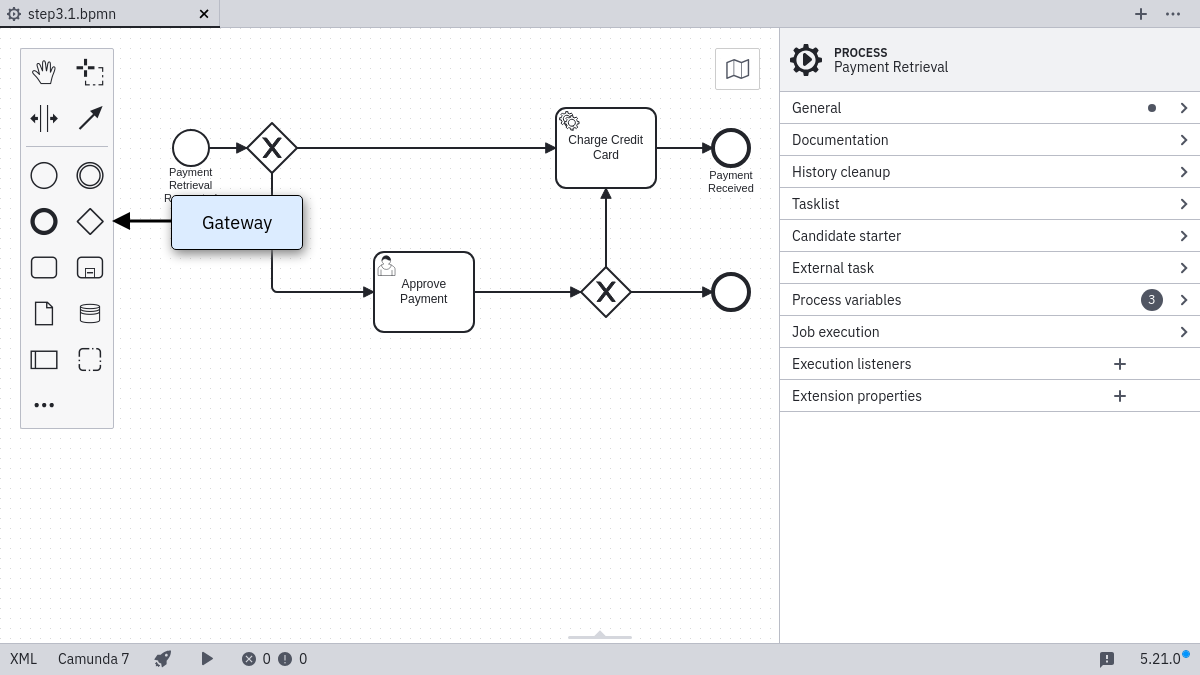
Now also name the new elements accordingly:

Configure the Gateways
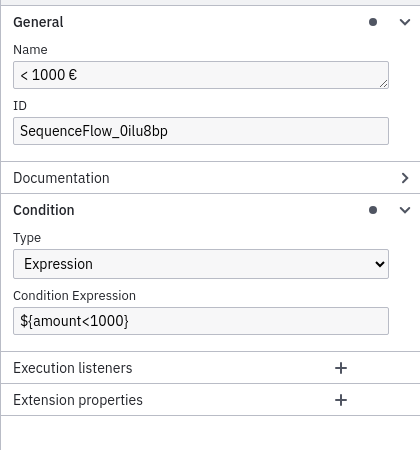
Next, open the properties panel and select the <1000 € Sequence Flow after the Gateway on the canvas. This will update the selection in the properties panel.
Scroll to the property named Condition Type and change it to Expression. Then input ${amount<1000} as the Expression.
We are using the Java Unified Expression Language to evaluate the Gateway.
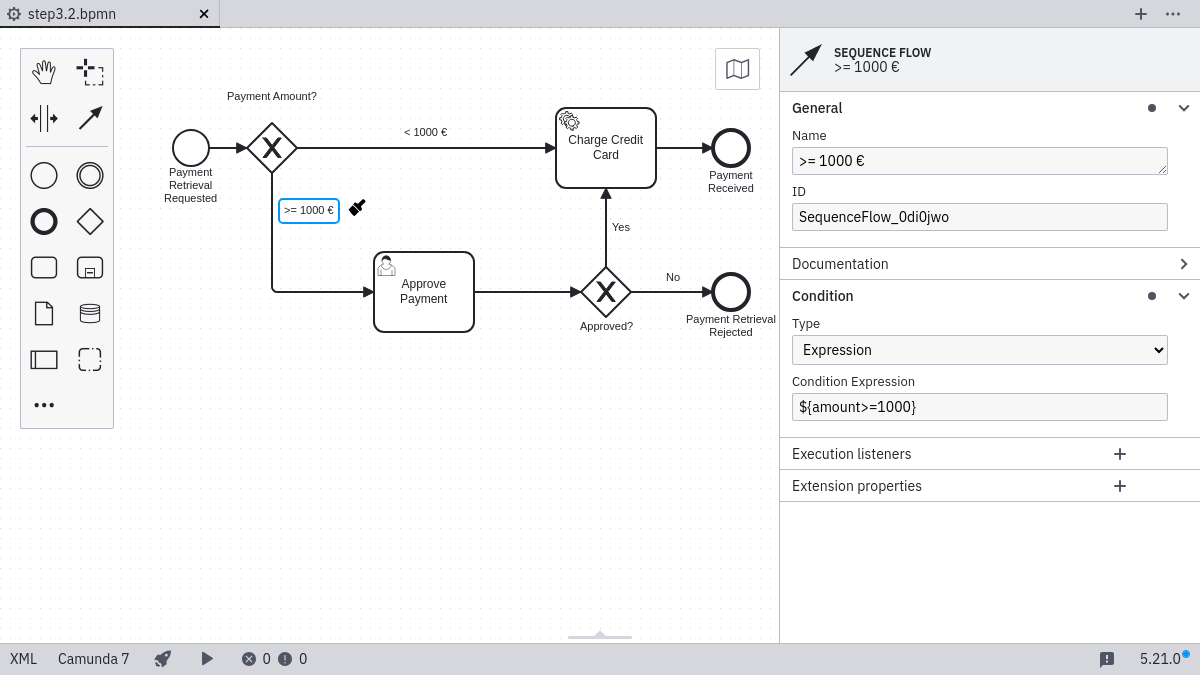
Next, change the Expressions for the other Sequence Flows, too.
For the >=1000 € Sequence Flow, use the Expression ${amount>=1000}:
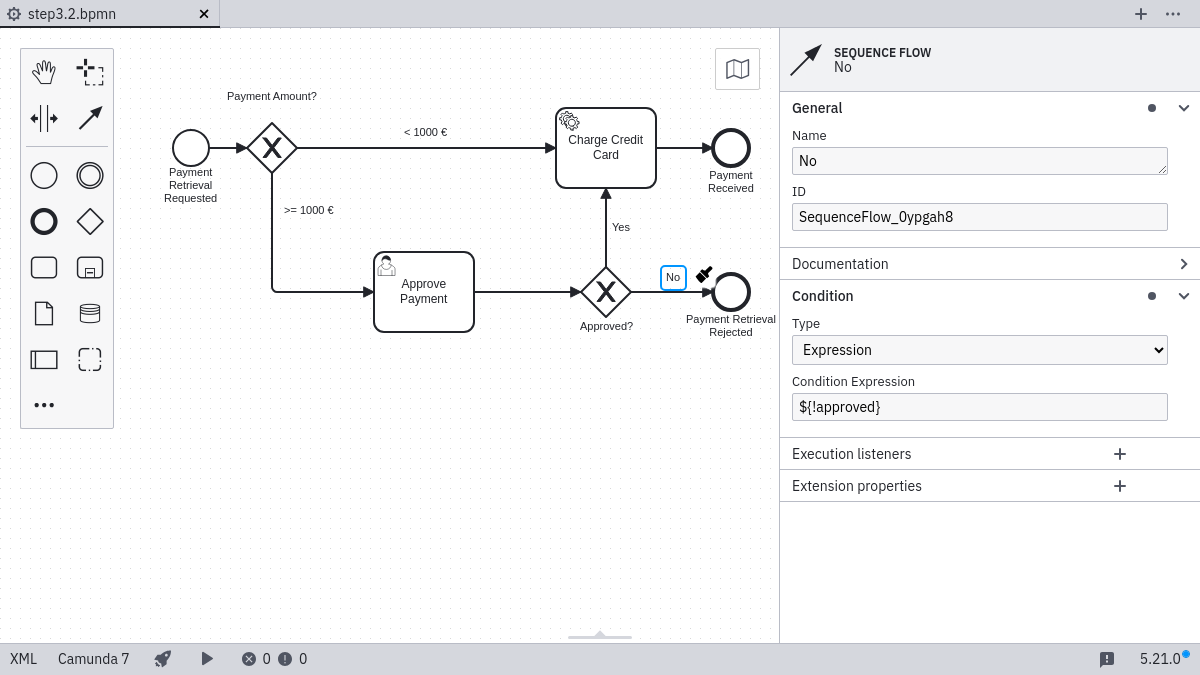
For the Yes Sequence Flow, use the Expression ${approved}:

For the No Sequence Flow, use the Expression ${!approved}:
Deploy the Process
Use the Deploy Button in the Camunda Modeler to deploy the updated process to Camunda.
Work on the Task
Go to Tasklist (http://localhost:8080/camunda/app/tasklist/) and log in with the credentials “demo / demo”. Click on the button to start a process instance for the Payment Retrieval Process. Next, set variables for the process instance using the generic form as we learned in the User Tasks section.
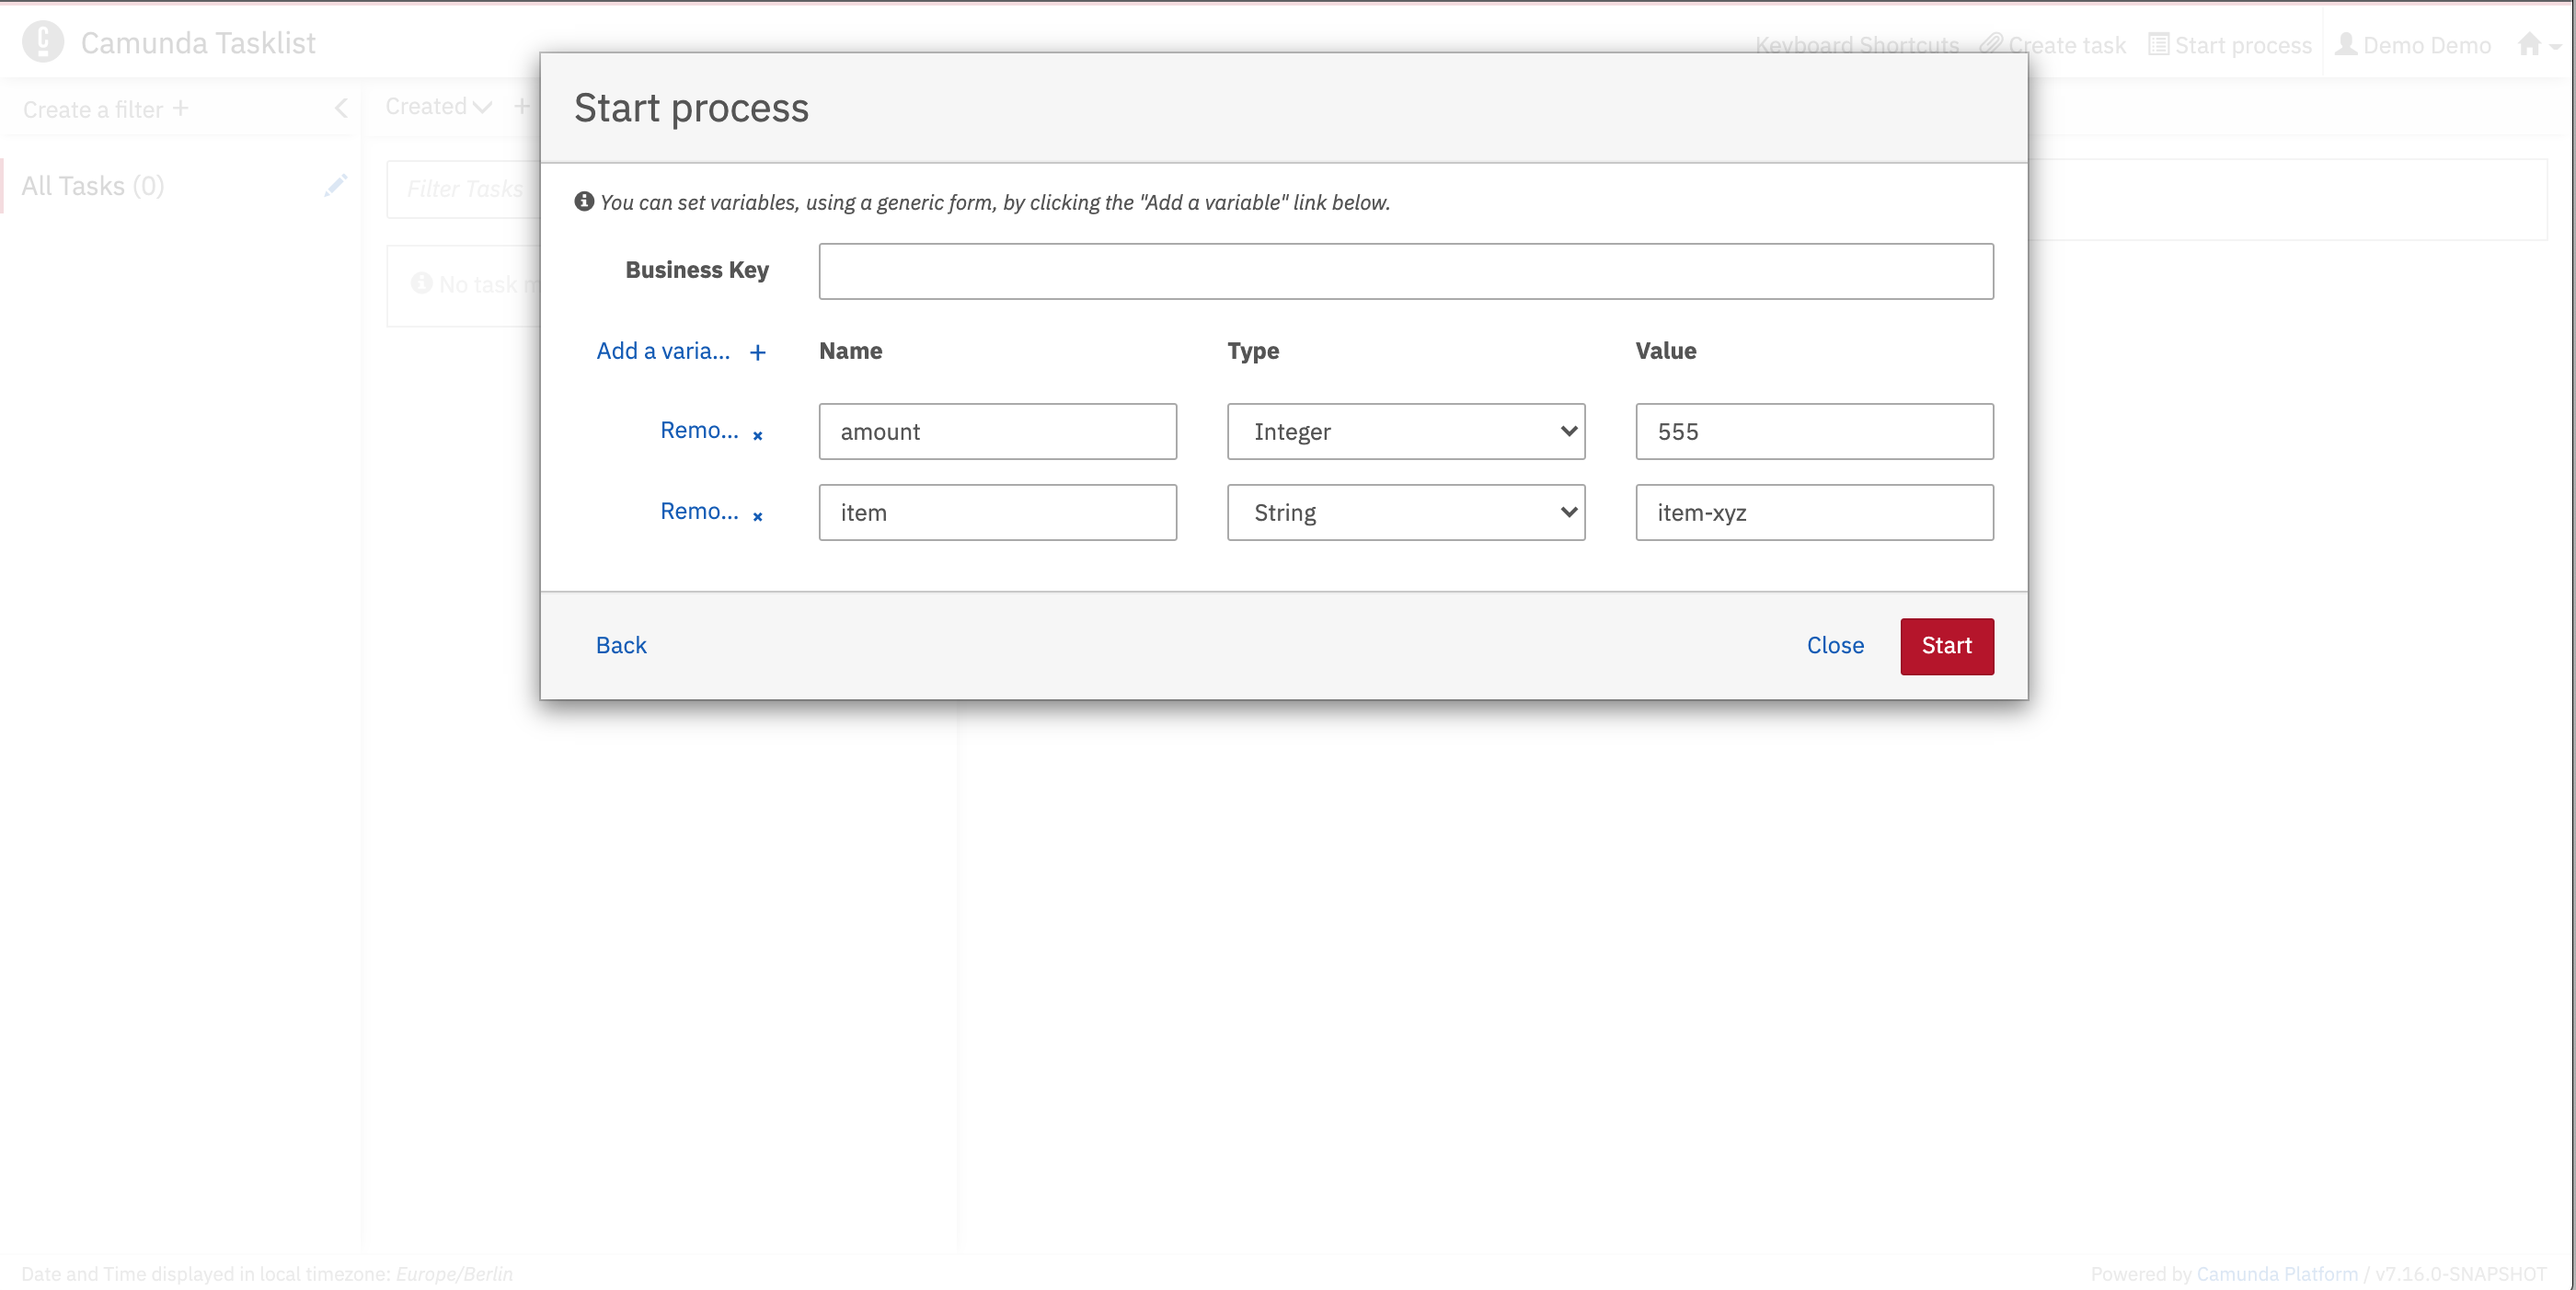
Fill in the form as shown in the screenshot and make sure you use an amount that is larger or equal to 1000 in order to see the User Task Approve Payment. When you are done, click Start.
You should see the Approve Payment task when you click on All Tasks. In this quick start, we’re logged into Tasklist as an admin user, and so we can see all tasks associated with our processes. However, it’s possible to create filters in Tasklist to determine which users can see which tasks based on user authorization as well as other criteria.
To work on the task, select the Form tab and check the approved checkbox so that our payment retrieval gets approved. We should see that our worker prints something to the console.
Next, repeat the same steps, and this time, reject the payment. You should also create one instance with an amount less than 1000 to confirm that the first gateway works correctly.
Next Step
Now you’re ready for Decision Automation. Let’s have a look how you can add Business Rules to your Process.
Catch up: Get the Sources of Step-4.
Download as .zip or checkout the corresponding tag with Git.
You can checkout the current state from the GitHub repository.
If you have not cloned the repository yet, please execute the following command:
git clone https://github.com/camunda/camunda-get-started-quickstart.git
To checkout the current state of the process application please execute the following command:
git checkout -f Step-4Or download as archive from here.